Some simple tools and tips you can boost your product photography and therefore attract more customers...
TIPS 'N' TRICKS
Quality product photography is essential for marketing your goods, but it doesn’t need to be expensive or overly technical. It can feel like a giant hurdle for new sellers, especially if you don’t have experience with photography, but with some simple tools and tips you can boost your product photography and therefore attract more customers.
Background
If you photograph at your home, make sure your background is free of clutter or distracting items. Clearing a space that is for photographs will help your images look much more professional, as opposed to photographing your products with items from your home in the background.
Choosing a color is also important. For instance, white looks nice and clean and also helps images feel brighter and more inviting compared to darker colors. Brighter images tend to stand out in search results as well. However, some products will call for blacks or grays as backgrounds, or perhaps your brand calls for something more colorful like pinks or blues. The important thing is to choose something solid and free of busy patterns or textures so that your product can be the focus.
Furthermore, your background and shooting surface don’t necessarily need to be the same. You can use a white surface for your items and have a different color as the background. Again, the important thing is that the color and any color differences don’t become distracting. It is best to keep things subtle and neutral most of the time, but sometimes going bold will help you stand out from competitors.
One other key tip for arranging your shooting setup is to create space between your product and the background. If you place your item right against the background, it will be in focus just as much as the product itself, which can be distracting and look flat. If you are using a seamless backdrop (a single sheet of paper or other material that curves from the shooting surface up to the background so that there are no lines), you will still want to pull away from the background to create depth and separation.
Lighting
While there are lots of different (and affordable) lighting setups out there, and just as much information on how to use them for product photography, sometimes all you need is sunshine. Natural light can be an extremely successful type of lighting for product photography, and the best part is that it’s free! For those just getting started, or not wanting to invest in special equipment, natural light is a great solution. It is worth noting, however, that if you want 100 percent consistency in terms of your photographs for different products, natural light is not the way to go (unless you can wait for the right conditions). Natural light varies based on the time of the year, time of day, and of course the weather, so you need to be okay with differences in your photographs when it comes to lighting if using natural light.
Shooting next to a window is best as it will provide soft, even light. A reflector is also a great tool for this type of setup. You can use just a white piece of poster board or buy a photography-specific reflector; putting that on the opposite side of the window will help bounce light back into the shadow areas, giving your more even light on your product.

Depth of field
Shooting with too shallow of a depth of field will leave parts of your product out of focus, which isn’t ideal. On the flip side, using too deep of a depth of field could result in the entire setup being in focus, which may take attention away from your product. Balance is key. Of course, if your products are flat items, such as shirts or art prints, then you don’t need to worry about this as much.
Composition
In most areas of photography, you will want to avoid centering your subject, but with products, that’s exactly what you want to do. Your product should be front and center, and composing with the product in the middle of the frame will help do just that.
For platforms like Etsy and Instagram, you also need to consider how the thumbnail will be cropped in search results. If you are too close or crop in too much on your product, it will get cut off in search results, preventing you from truly showing off your work. Place the most important part of your product in the center of the frame and allow plenty of space around it. Don’t allow too much space, however; it would leave your product small and hard to see within those thumbnails.
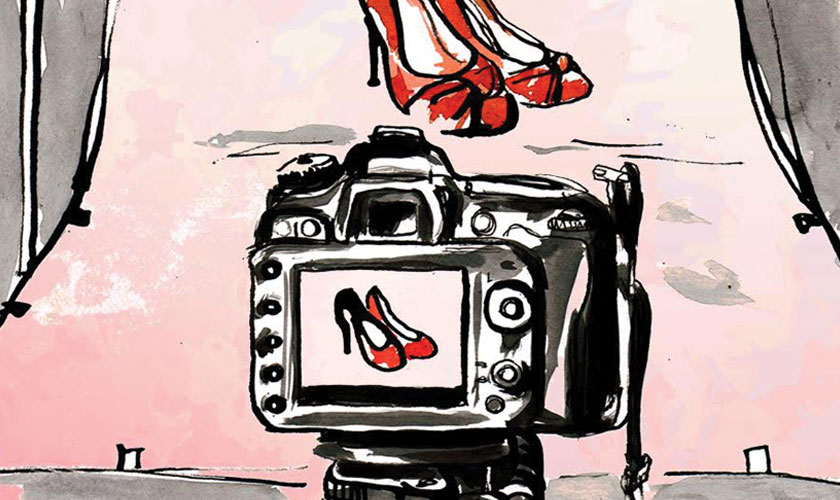
Use a tripod
One of the worst things in product photography is blurry images that result from too slow of a shutter speed and hand holding the camera. Product images should be perfectly sharp and clear or they will not do a good job of selling your product. A quality tripod is thus highly recommended. It also makes it easier to photograph as you can set up the camera in one spot and focus on arranging your items. You won’t need to pick up and reframe your image every single time.
At the end of the day, the point of product photographs is to successfully market and sell your items. The important thing is that they portray a professional product and brand and that they accurately represent your product, whatever it may be.
Compiled