In the 18th Century, découpage spread throughout Europe and it became a fashionable pastime.....
ARTSY CRAFTS
The découpage is one of the most sophisticated forms of decorative art. This art form originated in France in the 17th Century as a decorative art. Furniture, bookcases and crockery were artists’ canvases for decoupage. Though France takes the credit for refining découpage, the art form doesn’t solely belong to them. This art is heavily influenced by Ancient Chinese cut work, Siberian felt appliqués and Polish folk art of paper cutting.
In the 18th Century, découpage spread throughout Europe and it became a fashionable pastime, especially at the Italian, French, and English courts. Pretty and bright floral designs, cuttings from pictures printed especially for this purpose, were applied to fans, screens, and windows.

The French Art Deco designer Jean-Michel Frank used découpage on some of his earliest Parsons tables in Paris in the 1920s. Découpage got popular in the United States in the 1960s, as a popular decoration for boxes, trays, wastebaskets, lampshades, chests and screens.
Like all art forms, découpage art has also evolved over time. Artists have not just simplified the process of creating this art, but are also actively teaching this to people on various digital platforms.
We got in touch with Khadija Kiran, a crafter and art blogger from Creative Khadija, to learn more about the découpage art.
Découpage - how it works
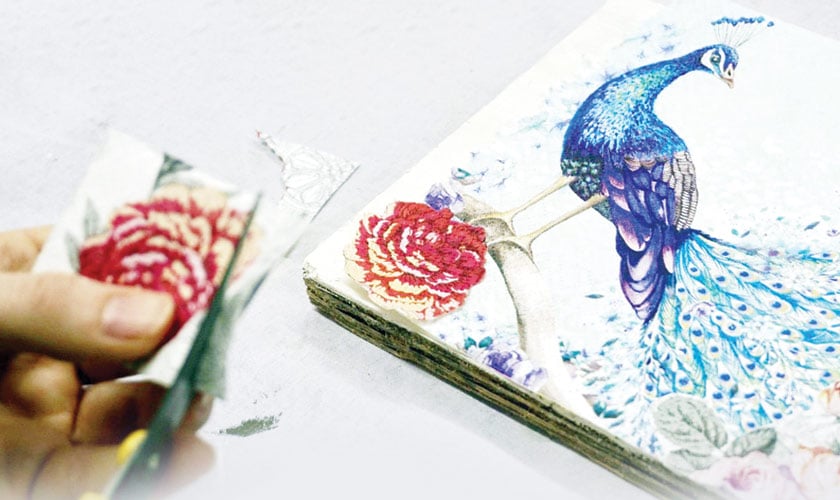
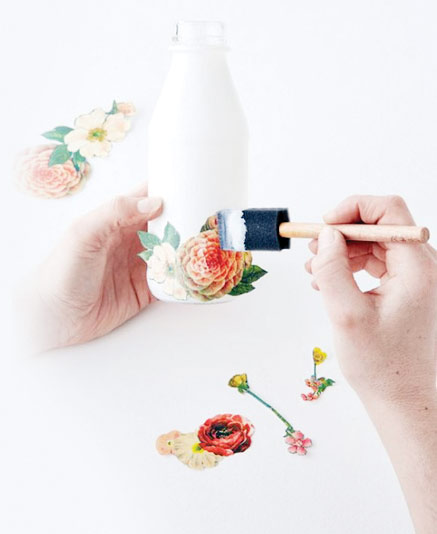
It is an art of cutting and pasting cutouts to simulate motifs, paintings and prints on flat surfaces (wood, metal, terra cotta, clay, leather or glass). Or you can simply say it’s an art of decorating furniture, clay pots, plastic or glass jars, etc. with cutouts. The finished craft can look so beautiful that it appears to be professionally painted. It sounds simple, but in reality it’s a lot more complex and that makes découpage one of the most unique forms of art. At advanced level, it involves “cutting out the pictures, arranging them to depict a scene or tell a story, pasting them on a surface, and applying several (sometimes up to 12) thin coats of varnish or lacquer to the pictures”.
But, today, for crafters at beginner level, artists have a very simple way to do découpage. There are just three steps to it: cut, paste and seal and you are done! And, the great thing is you don’t need a lot of craft supplies. Plus, this art allows you to use recyclable paper from newspapers, and magazine or wallpaper trimmings which I think is super important for sustainable and eco-friendly ways of crafting.
But for pasting and sealing you would need special adhesives and sprays.
Tools of the trade
All you need is paper with patterns and design of your choice, scissors, craft knife, PVA glue and sealer spray (Mod Podge is a popular brand).
This art should look flat, so only thin sheets of paper work here. Usually wallpaper, wrapping paper, magazine clips, origami sheets, lightweight fabric, postcards, photographs, crepe or tissue papers are used. I would recommend beginners start with newspapers and magazines scrap first. Later, they can get beautiful motifs and craft papers sheets for proper découpaging.
- SG
Material
Method
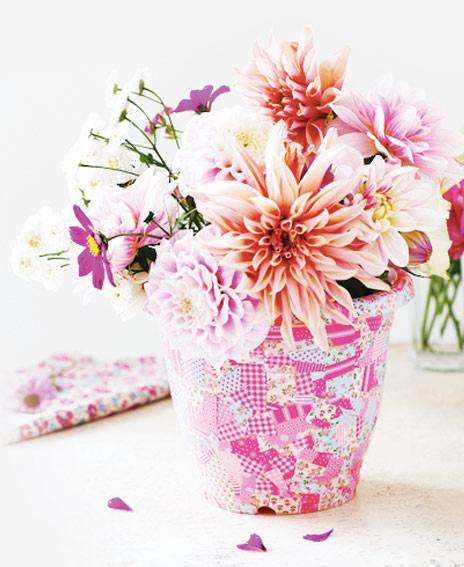
1- Make sure the pot is clean, dry and grease free. Cut the découpage paper into different shapes and sizes. The pattern on this paper lends itself to shapes of about 3cm across. Choose yours depending on the size of the item and the pattern.
2- Paint a section of the pot with glue and stick on the pieces of paper, trying not to leave gaps in between or overlap them too much. Continue until the surface is completely covered.
3- Make sure the pieces at the top are big enough to tuck inside the rim of the pot and go underneath the bottom. Finish with a final coat of PVA glue.
From Prima