But today, we are moving past that! Today, we shall learn about the art of baking, and how not to cry at the end!

COVER STORY
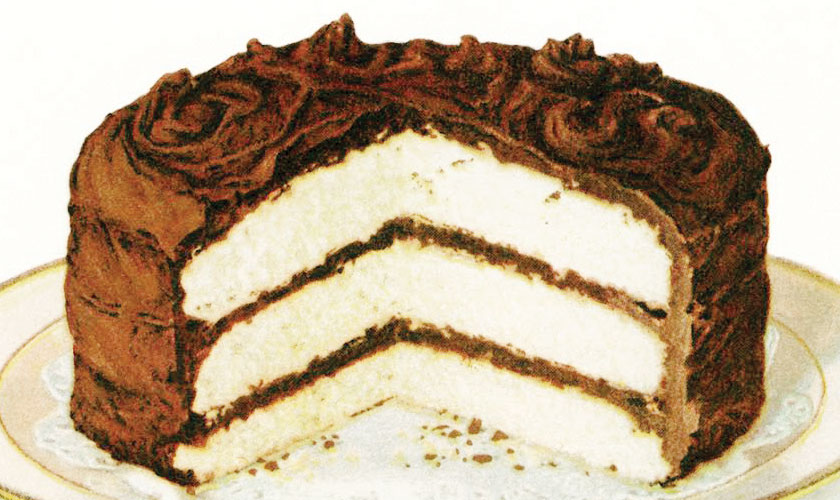
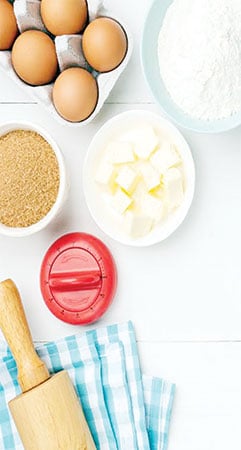
Baking seems fun and the outcome looks delicious, till you actually step into the kitchen to do it. It is nothing less than art. Precise, delicate, fine art. I’m sure we’ve all been stuck home long enough to want to take up a new hobby. And somehow, our social media feeds have shown us one too many desserts that we want to try, but know from previous failed attempts (or fear of failure) that it’s best to just drool and move on.
But today, we are moving past that! Today, we shall learn about the art of baking, and how not to cry at the end!
The first thing to know, and never forget: baking is not guesswork. You cannot sprinkle some baking powder, add a handful of sugar, whisk in 2 eggs and guess that will work. Every last thing has to be by the book. It is a very precise and accurate process. Open a recipe, read it carefully and follow all measurements exactly, down to the last dot.
On a side note, don’t get lost if you are not familiar with the measurement units. Ounces, ml, cups, grams - all of these are interchangeable if you google it. For instance, 1 cup= 4.5oz= 120g approx. Just google it, it’s all there.
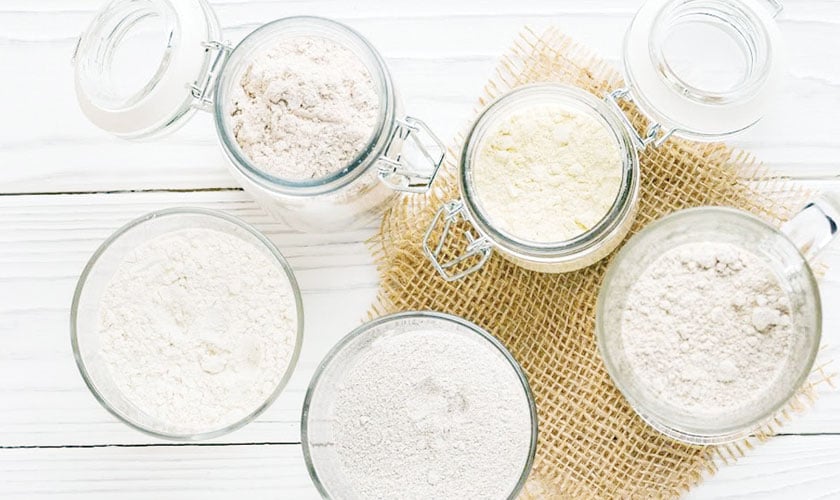
In our desi house holds, we all know flour is what we make rotis with, right? So if a baking recipe asks you to put in flour, it has got to be that aata in that bori in the corner, right? Please don’t do that. In baking, flour means maida. The difference here is, in baking we use white flour a.k.a maida, whereas in our daily chapati quests, we use whole wheat flour a.k.a aata. The two are not to be mixed.
Three different grades of sugar find use in baking:
Granulated sugar: normal household, every day sugar.Caster sugar: granulated sugar that has been ground to an almost powder form.
Icing/Confectioner’s sugar: completely powder sugar for icing/frosting.
Caster sugar finds the most use in baking because it has a finer texture and mixes with the ingredients more readily. Whereas granulated sugar has a longer mixing time, and tends to settle at the bottom mostly. But the good thing about caster sugar is you don’t need to purchase it separately from the store. Just take normal granulated sugar, put it in the grinder and grind just for a minute! There you have it, caster sugar!
Note: You can still substitute granulated sugar for caster sugar, but remember to mix mix mix!
They both look exactly the same, but they are not. Baking powder is potent enough to work on its own, but no guarantee if you just use baking soda. Most recipes call for just baking powder, but some make use of both. My personal observation is that recipes that make use of both tend to be softer, and more spongy. Also, baking soda has to be used in small quantities; it leaves a certain metallic, strange after taste if you add more than the recipe calls for.
One important lesson I have learned with trial and error is the importance of separating dry ingredients from wet ingredients. For instance, butter, milk, eggs, oil are to be mixed in a separate bowl (wet ingredients) and baking soda, baking powder, flour, cocoa powder are to be mixed in a separate bowl (dry ingredients). The only ingredient that keeps jumping this barrier is sugar. If you’re using granulated sugar, it goes with the wet ingredients because of how long it takes to mix and dissolve. But if you’re using caster sugar, it can go either way depending on your recipe. It dissolves quickly so it can go in either the wet or dry ingredients bowl. Once both your bowls are separately ready, you can go ahead and slowly mix the dry into the wet ingredients.
No matter how convenient it seems to just use an egg beater and whisk everything together, it is not recommended. For the initial part, it is perfectly fine to whisk all the wet ingredients together with an egg beater, absolutely no harm in that. Plus, it is a lot easier to mix the sugar into the wet ingredients with a beater than a spoon.
But, once you start incorporating the dry ingredients, put the beater away. Time to go manual. It is highly likely the egg beater will over mix the batter and your cake will fail to rise in the oven altogether. With a spoon/spatula, you control the mixing time and mixing rate. So, don’t over do it, once everything seems incorporated, put the spatula away.
It does not help if you are mixing with one hand, running around the kitchen looking for the next ingredient, and then looking for a clean cup to measure in. Prep everything before you begin. Look up all the ingredients, line them up on your kitchen counter, take out all your measuring tools (teaspoon, tablespoon, cup, measuring flask, etc.) and get ready for a mess. For the best results, it is best to leave the ingredients outside for a while so they all come down to the same temperature (room temperature) before you begin.
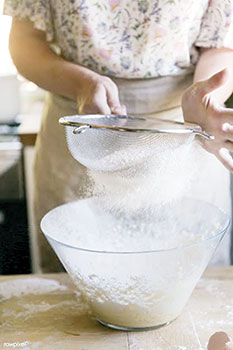
Except for sugar, make sure you pass all your dry ingredients through a sieve to take out any lumps or clumps or little intruders you do not want in your food.
Baking can be quite a messy process, and you just need to accept it for what it is, a beautiful, tasty mess. With all the spoons and cups and sieving and pouring from one bowl to the other and that egg beater making splashes, your kitchen counter won’t be clean. But it is a small sacrifice to make for the treat at the end.
It is exciting when the batter is finally ready. But don’t get too excited and pour it directly into its mould/pan. Otherwise, that cake is never coming out of there. Make sure you adequately grease your pan. The recommended method is to line your pan with butter or oil and add a layer of butter paper; though, I have never once used butter paper.
The easiest and cheapest method, is to rub cooking oil all around your pan. Make sure you cover every little corner. And then sprinkle flour/ maida all over it. The flour will stick to the oil and you’ll be left with a fully coated white pan.
The idea of a huge cake is appealing, but if you try to achieve that by filling your pan all the way to the top, the batter will just spill out as it rises. The recommended level is about half or just a bit above half of your pan. Do not cross that mark, you will be sad in the end if you do.
Once your pan is filled (not overfilled), tap the pan twice or thrice on the counter. Gently pick it up and tap it down on the counter, so the batter spreads evenly and any remaining air bubbles or air pockets can escape.
A new hack I learned is how to make your cake rise evenly. Take a wet kitchen cloth or towel (soaking wet) and wrap it around your pan. Secure it well so it does not slip off in the oven (I tie it with a tight knot) and place the pan in the oven. The cloth should cover all sides of the pan, besides the top and bottom. This keeps your pan from heating up too fast and controls the temperature so the batter rises slowly and evenly from all sides.
Once the batter is in the oven, do not make guesses when it will be ready. If you leave it too long, it will burn to a crisp, if you keep opening the oven and checking every 10 minutes, the temperature inside will keep fluctuating and the cake will fall back into its mould like a depressed lump of clay. It will fail to rise altogether. Check what the recipe states. Most cakes take between 40 to 55 minutes to be fully cooked.
How do you know if the cake is cooked all the way through? Easy. Once the recommended baking time has passed, take a clean knife, or skewer, or whatever poking apparatus you can find, and poke the cake straight through the centre. Let the knife reach the bottom of the pan and then pull it back out. If the knife comes out clean, it means the cake is cooked all the way through. If any batter is sticking to the knife, it means the cake needs more time. Keep adding five to 10 more minutes till the knife finally comes out clean.
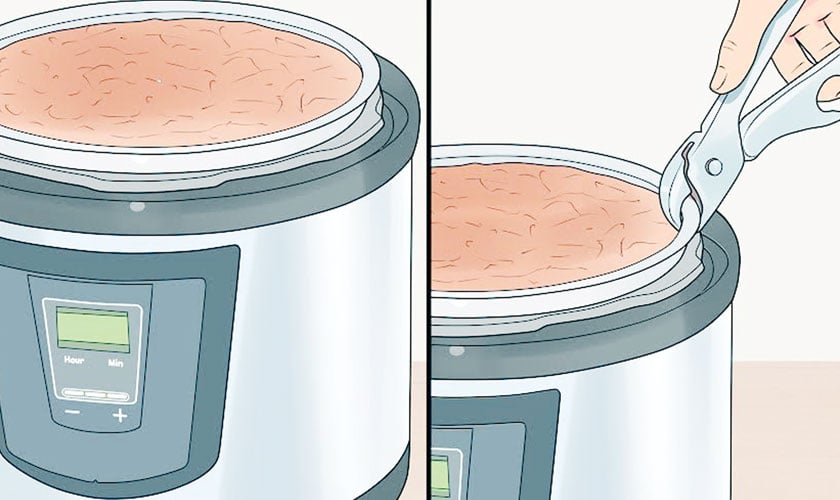
Honestly, neither do I! I have baked both with and without an oven and it is all the same. Take a big pot or use a pressure cooker (do NOT add the pressure weights. Let the pressure escape), put a small stand inside for you cake pan to rest on. You can use a small metal lid for this purpose as well, and put your cake pan on top. Now cover the pot and let it cook normally, according to the recommending baking time. Note: Cook on a low flame and preferably pre-heat your pot for 10 to 15 mins.
This sure seems like a lot but trust me, once you start, it really isn’t. And I honestly find the whole process quite therapeutic.
Also, you can find great local baking recipes on the Youtube pages of Food Fusion, Sooperchef and Kitchen with Amna. Good luck!